
This morning, I was idly looking through my Twitter feed and came across a thread discussing Starbucks’ recent hiring of a former Pinkerton intelligence analyst, which led to a discussion of the history of the Pinkertons as strikebreakers, which led to a 19th-century illustration of a crowd of women confronting uniformed men with guns. Curious as to the source of the illustration, I aimed my Pixel 6 phone at it and tapped on the Google Lens icon on the right side of my homepage’s Google search field.
After maybe a minute, I found a series of websites that had used the illustration, including one from Wikipedia that told me that the image was of an 1884 wood engraving made from a sketch by Joseph Becker illustrating “the striking miners’ reception of ‘Blackleg’ workmen when returning from their work escorted by a detachment of Pinkerton’s detectives.”
It’s easy to forget how useful Google Lens can be. This Android app has been slowly improving since it was introduced in 2017, and it probably doesn’t get as much attention as it deserves. Lens, an image recognition app, can not only help identify the source of an image but also can help you figure out which bird is in your friend’s photo or whether anyone is still selling that sweater you need to replace.
Here are a few of the things you can do with Google Lens. These were tested with a Pixel 6 running Android 12; since Android phones can differ (especially if you’ve got a Samsung device), your mileage may vary.
HOW TO ACCESS GOOGLE LENS
Before we talk about what Google Lens can do, it’s probably a good idea to let you know how you can access it. There are several places you can find it in Android:
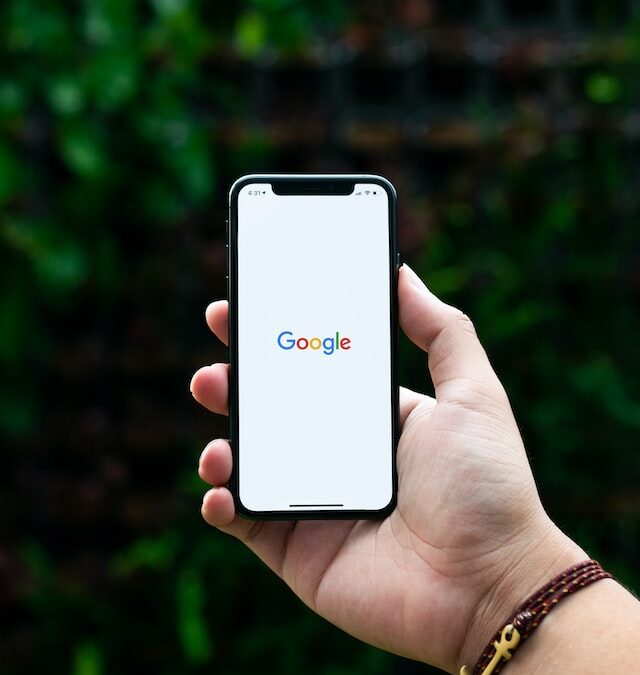
- In the Google search field on your homescreen, Lens is the icon on the far right. (It looks like a circle surrounded by three multicolored lines and a dot.)
- In the Google Photo app, swipe left on the buttons on the bottom of the screen until Modes is highlighted, and then select Lens.
- In the Chrome app, tap the camera icon on the right side of the search field.
- And of course, you can always just open the Lens app itself.
HOW TO USE AN IMAGE FROM YOUR DEVICE
When you open the Lens app, images from your device will be listed below the square “Search with your camera” field at the top.
While you can’t search among those images in Lens (which is inconvenient, to say the least), you can narrow down your search. The section just beneath the search field will say something like “Screenshots” or “Downloads.” Tap on the arrow next to it and you can select from a variety of sources and apps that your image may be associated with.
An easier way to use Lens with an existing image is to go to your Photos app and use its search feature to find the specific image you want. Select the image, then tap on the Lens icon at the bottom of the screen.
HOW TO IDENTIFY AN ITEM OR TEXT USING YOUR CAMERA
- If you want to identify an object, some text, or anything else that you haven’t already photographed, then you can by choosing one of the methods above to start Lens on your phone. You’ll see that square field on top labeled “Search with your camera.” Tap on the camera icon in the center of that field, and it will open to take up your entire screen.
- You’ll see four corner lines that will indicate what Lens is going to concentrate on. Move the camera so that the image you want is inside of those lines; you can also use your fingers to make the image larger or smaller. If you don’t feel you have enough light, tap the lightning bolt icon at the top left.
- Tap “Search” at the bottom of the screen.
HOW TO IDENTIFY A SPECIFIC PART OF AN IMAGE
Once you’ve told Lens to start identifying an image, it will begin by trying to guess what in the photo you want to match and will show you what it’s concentrating on by surrounding the item with four “corner” lines. But while Lens can be very good at picking out what’s interesting in a photo, it can guess wrong. For example, when I tried it on a photo of a dog in the foreground with a person walking in the background, Lens centered in on the person.
If you feel that the wrong object is being identified, tap on the item in the photo that you do want it to concentrate on. (Sometimes a secondary object will already have a dot on it, as if to say, “Maybe it’s this instead?”)
If Lens has chosen the correct item but the outline is taking in too much or too little of the surrounding area, then just use your finger to adjust it.
WHAT ELSE CAN YOU DO WITH LENS?
Once you’ve got the basics down, there are a variety of features that you can experiment with. If you go to the Lens app, you can see these features listed at the bottom of the screen below your image. Here are a few:
- By tapping on Translate, you can translate text to one of several dozen languages.
- By tapping on Text at the bottom of the Lens screen, you can copy the text to your clipboard or to your device, listen to it being read, or do a search.
- Homework will bring up information about the highlighted text. For example, when I used Edna St. Vincent Millay’s poem “Dirge Without Music,” I got results from the Poetry Foundation and Poets.org among others.
- Shopping will help you find a product similar to the one you’ve taken a photo of (using a barcode will get you much more accurate results).
- Places lets you point at a building or other object outdoors that will get you information on where you are or what you’re looking at.
- Dining lets you take a photo of food or a menu and identify recipes or where the restaurant is located.
There are a variety of other things you can do with Lens — and the best way to find out how it works for you is to try it out.
Source: The Verge | By: Barbara Krasnoff | August 8, 2022 | https://www.theverge.com/23293383/google-lens-image-recognition-photo-how-to
To learn more, contact us today!
Roberto Baires

